If you have ever built a project using 80/20 profile, or as some like to call it aluminum exstrusions, you know what a great material it is for this. What I consider to be the most customizable or adaptable material available for out purposes. The only difficult part is coming up
with a design you want, and then sourcing all the bits required to complete your project. Buying an 80/20 cockpit kit alleviates a lot of the worry of buying too many parts and bits that you end up not using. Eliminating any savings you thought you were going to have by sourcing it all yourself. That’s why I now buy all of the larger projects I want to do in kit form. Just a lot less hassle at the end of the day. I still buy my own profiles and fasteners for my smaller custom projects. The profiles and fasteners that Sim Lab uses in it’s kits are all top flight bits. They use massive 40/160 profiles for the cockpit’s base. Which make you feel like you’re sitting in a bolder, it’s so solid. Just no movement
or flex anywhere. The motor is also a massive 15mm plate. When you mount your DD FFB motor to this piece you can be sure that you won’t loose any of even the smallest details that you motor can deliver. Just a solid cockpit through out. All the hardware to assemble
this cockpit was present and accounted for. So no need to stop mid build and wait for the manufacturer to send the missing pieces. So, as far as the build process is concerned I’m very happy with the results. Now it’s on to the second part of the review. Where I’ll be mounting all of my racing hardware, like the wheel, pedals, seat and anything else I need to start driving this cockpit.
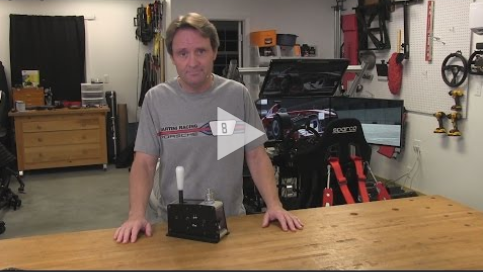
Sim Lab P1 Cockpit Part 1 “The Build”
February 27, 2018 9:00 pm
More videos
(Visited 750 times, 1 visits today)
Tags: assetto corsa, bodnar, computer racing, D-BOX, f1, fanatec, forza, gamer, gaming, gran turismo, Heusinkveld, HPP, IMSA, inside sim racing, iracing, logitech, momo, motion simulator, nascar, oculus, online racing, PS4, racer training, racing, racing pedals, racing seat, racing simulator, racing wheel, rfactor, scca, Sim Lab, sim pit, Sim Racing, sim racing cockpit, sim racing girl, simracing, simulation, simulator, simxperience, sparco, thrustmaster, triple monitor, vr, WEC, XBOX





Leave a Reply
Be the First to Comment!
You must be logged in to post a comment.
You must be logged in to post a comment.